Thrift Store Checklist: 12 Things to Check Before You Buy
An in-store checklist for thrift shoppers and resellers: labels, fabric, wear spots, hardware, chips and missing parts, in under two minutes per item.
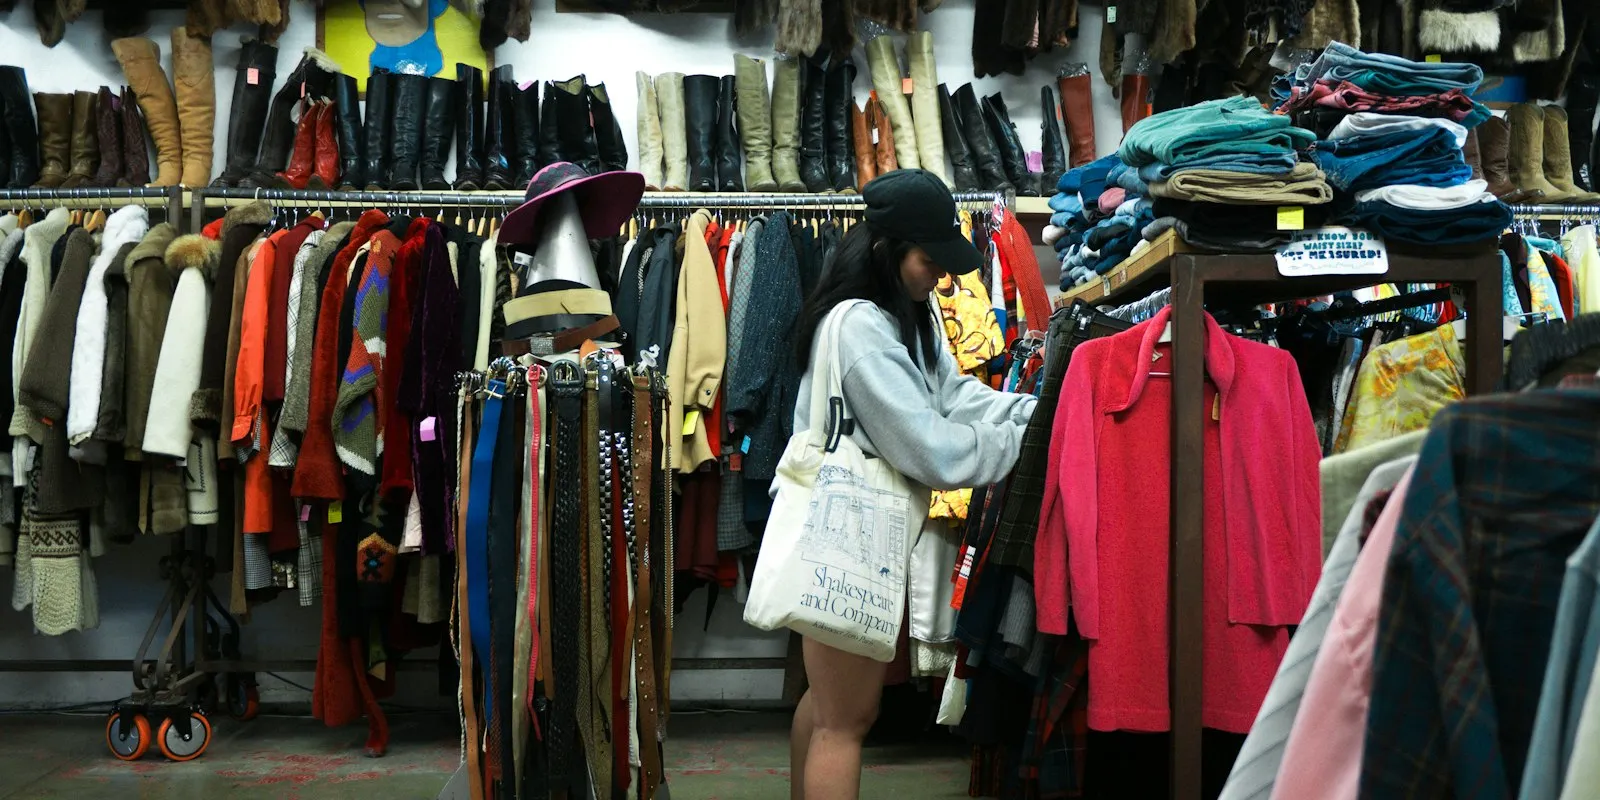
Thrift stores move fast. The good pieces go quickly, and it’s easy to get to the register with something that looked great on the rack and turns out to have a split seam, a stained collar or a missing lid.
This checklist is what experienced thrifters do on autopilot. (For deciding what’s worth picking up in the first place, see how to spot thrift finds worth reselling.) It takes a minute or two per item, and it works whether you’re buying for yourself or to resell.
1. Read the main label
The label tells you more than the brand. Look for:
- Brand and line. Some brands have several lines at different price points, and the label often shows which one you have.
- Country of manufacture. “Made in” details can matter to buyers, especially for older denim, knitwear and workwear.
- Label style. Fonts, logos and label materials change over time, which can help you place an item roughly in time. Treat this as a clue, not proof.
If the label is missing or cut, that’s not a deal breaker, but it usually makes an item harder to identify and sell.
2. Check the fabric content tag
Usually a separate small tag along a side seam. It answers questions you can’t settle by touch alone:
- Natural fibers like wool, cashmere, silk, linen and cotton are often what buyers search for.
- Blends aren’t bad, but “100% wool” and “20% wool” are very different sweaters.
- No content tag? Use touch and the care instructions as hints, and describe the fabric honestly if you list it.
For sweaters, it’s also worth checking how they were made: see hand-knit vs machine-knit.
3. Look at the wear spots
Every category has places that wear first. Check them in good light, ideally near a window or under the brightest fixture.
- Shirts and tops: collar edges, cuffs, underarms.
- Sweaters: elbows, cuffs and underarms for thinning or felting; the body for pilling.
- Jeans and trousers: inner thighs, crotch seam, back pockets, hems.
- Shoes: heels, toe box creasing, insoles, sole separation at the edges.
- Bags: corners, handle edges, strap attachment points.
4. Smell it
Smoke, mildew and heavy perfume can be hard to remove, especially from wool, leather and upholstered items. If something smells musty, check seams and linings for spots of mildew.
5. Test every closure
- Zippers: run them all the way up and down. Check that the pull is attached and the teeth meet evenly.
- Buttons: count them, and check the buttonholes aren’t stretched or torn.
- Snaps, clasps and buckles: open and close each one.
A broken zipper is fixable, but it’s a cost and a hassle. Decide in the aisle whether you’ll actually fix it.
6. Look for stains in daylight
Store lighting hides a lot. Hold the item up to the brightest light you can find and check:
- Collars and cuffs for yellowing or makeup.
- The front of tops, where food spills land.
- Light-colored items for faint discoloration or sun fading along fold lines.
7. Check seams and linings
Turn the item inside out if you can. Loose threads at seams, split linings and pulled stitching are common and often skipped. For coats and jackets, check the lining at the armholes and the bottom hem.
8. Inspect hardware on bags and accessories
On bags, belts and jewelry, the hardware often says the most about quality:
- Weight and finish. Solid, evenly finished hardware tends to signal a better-made piece.
- Stamps and engravings. Look for clear, even markings on zippers, clasps and rivets.
- Wear. Plating that’s flaking or rubbed through to a different color shows age and use.
For the bag itself, see how to tell real leather from PU.
9. Run a finger around every rim (ceramics and glass)
Chips and hairline cracks on mugs, plates, vases and glassware are easy to see past. Slowly run a fingertip around the rim and base, then hold the piece up to the light.
Also look for:
- Crazing: a fine network of cracks in the glaze. Some buyers don’t mind it; others avoid it.
- Maker’s marks on the base: a stamp, signature or impressed mark can help you identify the maker later.
- Fading or scratches on painted or printed patterns, often from dishwashers.
10. Make sure it’s complete
Missing pieces quietly lower value:
- Lids for teapots, casserole dishes and canisters.
- Straps for bags and cameras.
- Belts that came with trousers or coats.
- Cables, chargers or lens caps for electronics.
- All the pieces of a set, game or puzzle.
11. Test electronics if the store allows it
Many thrift stores have a testing outlet near the electronics shelves. Check that the item powers on, that buttons respond and that the battery compartment is free of corrosion. If you can’t test it, factor that risk into whether you buy.
12. Check what it’s actually worth
Before you pay, get a rough sense of value:
- What similar items are listed for, keeping in mind that asking prices aren’t the same as what things sell for.
- What details move the price for this specific item, like a particular label, fabric or pattern.
- Your costs if you’re reselling: marketplace fees, shipping and your time.
This is where a lot of thrifters get stuck, because searching listings on your phone in the aisle is slow. It’s also why we built Thrift Hunt: snap the item to see a likely range, what moves the price and similar live listings, in one place.
Putting it together
You don’t need to run all twelve checks on every item. Here’s a fast order that covers most of it:
- Label and fabric tag: is this what I think it is?
- Wear spots, stains and smell: is the condition good enough?
- Closures, seams and completeness: does everything work and is anything missing?
- Value check: is it worth it at this price?
If you’re reselling, decide which marketplace suits the item, then write a listing that buyers can find. Start with how to write an eBay title that gets found, and use the free eBay title checker to test yours.
Questions
How long should I spend checking a thrift item?
For most clothing and homeware, one to two minutes is enough to go through the checks that matter: label, fabric, wear spots, closures and damage. Save a deeper look for pieces that pass those first checks.
Can I tell if something is authentic in the store?
Not with certainty. Labels, stitching and hardware can suggest whether something is genuine, but convincing fakes exist. For anything expensive, use a professional authentication service before you rely on it.
What is the most commonly missed flaw?
Underarm and collar wear on clothing, and hairline cracks or chips on the rims of ceramics and glass. Both are easy to miss under store lighting, so check them deliberately.